eLearning at the CTL
Upcoming Events
All | Faculty | Grad Students
Contact
Centre for Teaching and Learning
Weldon Library (WL), Room 200
(519) 661-2111 x80346
ctl@uwo.ca
Creating Checklists
There are two ways to begin the Checklist creation process.
Option 1
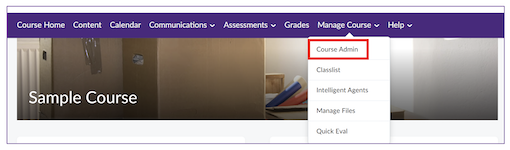
1. On the Navbar, select Manage Course and click on Course Admin:
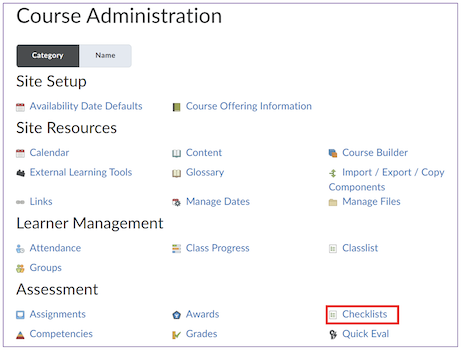
2. Scroll down to Assessment and select Checklists:
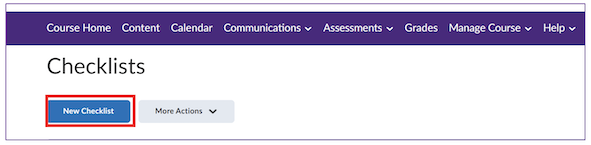
3. Select New Checklist:
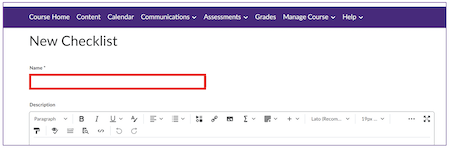
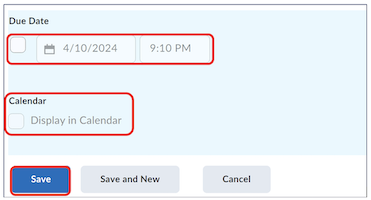
4. Name your checklist, scroll down and Save:
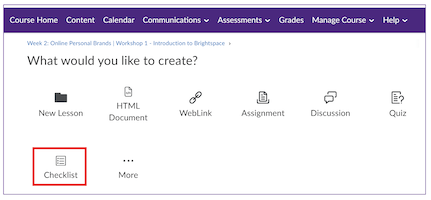
1. On the Navbar (i.e. navigation menu), select Content and the Week/topic in which you would like to create a checklist. Select Create New Checklist:
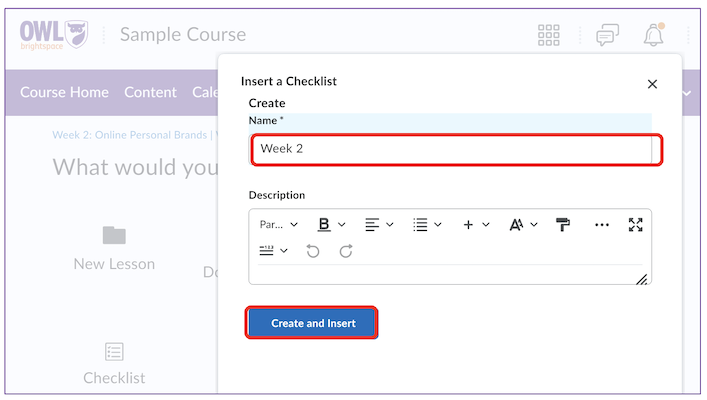
2. Name your checklist, then click Create and Insert:
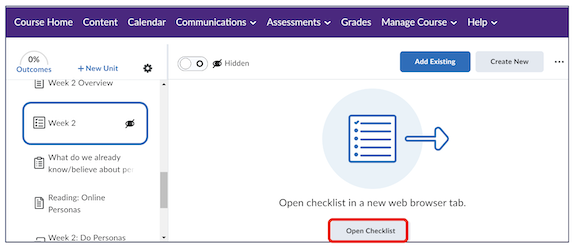
3. Click Open Checklist to view your newly created checklist:
Creating Categories and Items
1. On the Edit Checklist page, scroll down to the Categories and Items area, and:
- Add a category to the checklist, by selecting New Category. Click Save.
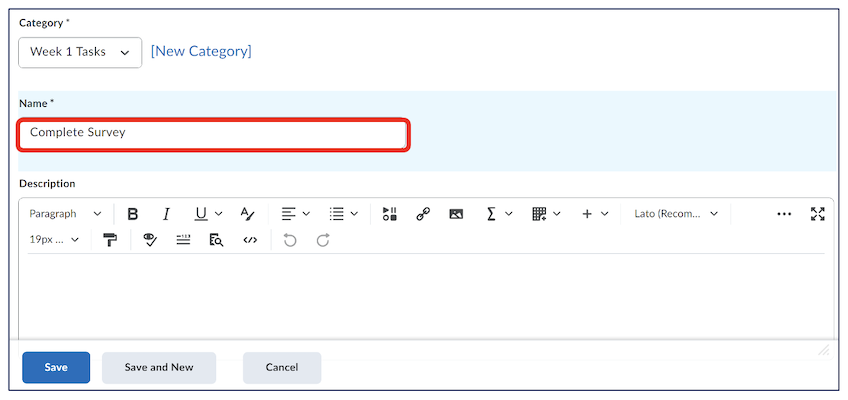
- Add an item to the checklist, by selecting New Item. From the Category drop-down list, select the category for your item. Enter your item name.
- Repeat for all items.

2. Now select the Attendance Registers tab to create a registry for attendance. Select New Register:
Tips!
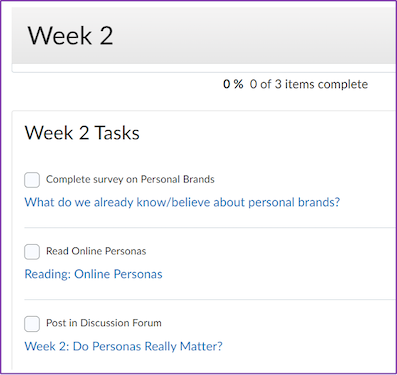
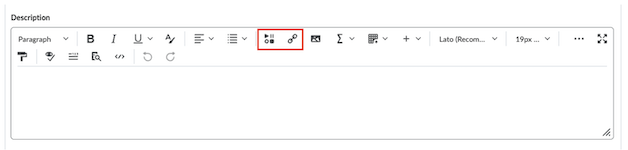
You can add hyperlinks to your checklist items to direct students to exact task or activity referenced. For example, you can link to a reading in your Manage Files, a template you have on your computer, or link to an existing page in your course. This can be done by selecting either Insert Stuff or Insert Quicklink icons, depending on what you would like to add.
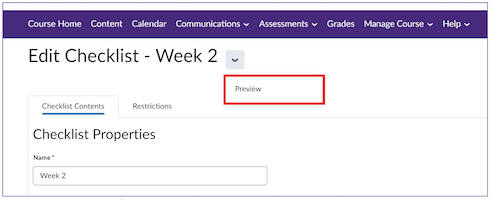
Select Preview or View as Learner (Click on your name at the top right-hand corner of the screen) to view the checklist as it will be presented to students.
Here is an example of what a checklist with hyperlinks looks like: